

Are you looking to install a voltage gauge in your vehicle? Monitoring your battery’s voltage is important for maintaining its health and preventing unexpected breakdowns. In this guide, we will walk you through the step-by-step process of installing a voltage gauge in your car, motorcycle, boat, or golf cart.
Materials Needed:
- Voltage gauge
- Wires
- Crimp connectors
- Fuse
- Fuse holder
- Wire strippers
- Electrical tape
- Wire connectors
Step 1: Choose the Installation Location
The first step is to select a suitable location for your voltage gauge. It should be easily visible and within reach for monitoring. Common locations include the dashboard or center console.
Step 2: Disconnect the Battery
Before working on any electrical components, it is important to disconnect the negative terminal of the battery to avoid any accidental short circuits. Use a wrench to loosen the nut, then remove the negative cable from the battery.
Step 3: Connect the Gauge to Power
Connect the red wire from the voltage gauge to a switched power source. This can be a fuse box or any other wire that receives power when the ignition is turned on. Use a crimp connector to securely attach the wire.
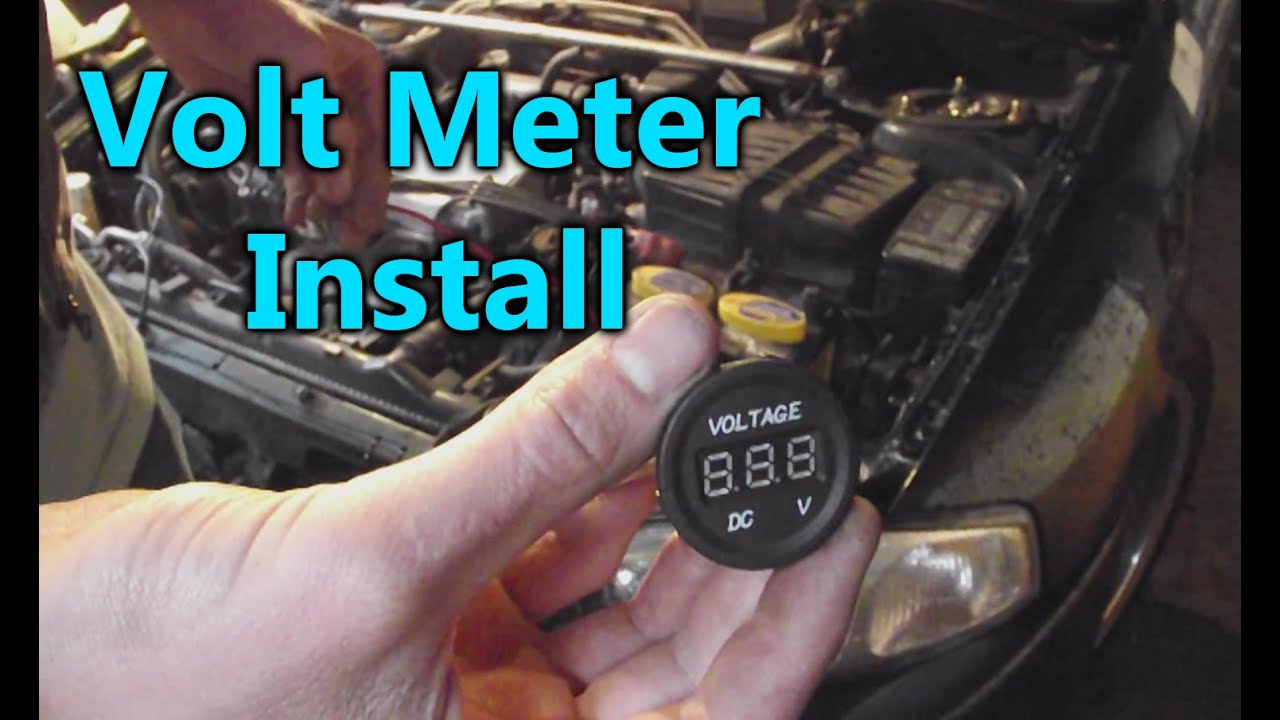
Credit: m.youtube.com
Step 4: Ground the Gauge
Connect the black wire from the voltage gauge to a suitable ground point on the vehicle’s chassis. Ensure that the connection is secure to maintain accurate readings.
Step 5: Connect the Wire to the Battery
Take the yellow wire from the voltage gauge and connect it to the positive terminal of the battery. Use a crimp connector or a suitable connector to ensure a secure and reliable connection.
Step 6: Install a Fuse
To protect your electrical system from any potential short circuits, install a fuse between the power source and the gauge. Use a fuse holder to connect the fuse in-line with the wire.

Credit: www.wikihow.com
Step 7: Test the Gauge
Once all the connections have been made, reconnect the negative terminal of the battery. Turn on the ignition and check if the voltage gauge displays the correct readings. If everything is working properly, you have successfully installed the voltage gauge.
Additional Tips:
- Make sure to read the manufacturer’s instructions for your specific voltage gauge before installation.
- Double-check all the connections to ensure they are secure and free from any looseness.
- Regularly monitor the readings on your voltage gauge to ensure the battery is in good condition.
- If you are unsure about any step in the installation process, it is recommended to consult a professional or refer to vehicle-specific forums for guidance.
Frequently Asked Questions On How To Install Voltage Gauge
Where Should My Voltage Gauge Be?
The voltage gauge should be installed by connecting the red wire to the positive terminal and the black wire to the negative terminal to power the meter. Then, connect the yellow wire to the power source you want to measure.
This allows for monitoring voltages during development or as a permanent part of the project.
How Do You Wire A 3 Wire Voltmeter?
To wire a 3-wire voltmeter, follow these steps. Connect the red wire to the positive terminal and the black wire to the negative terminal for powering the meter. Then, connect the yellow wire to the power source you want to measure.
That’s it! This voltmeter is great for monitoring voltages during development or as a permanent part of the project.
What Is The Difference Between A Volt Gauge And An Amp Gauge?
A volt gauge and an amp gauge serve different purposes in an electrical system. A voltmeter measures electrical pressure in volts, while an ammeter measures electrical flow in amps. The voltage measurement is more useful as it indicates the level of electrical pressure.
Both gauges provide valuable information about the electrical system’s performance.
How Does A Car Volt Gauge Work?
A car volt gauge measures the electrical pressure in volts in your car’s battery or electrical system. It works by connecting the red wire to the positive terminal and the black wire to the negative terminal of the power source.
The yellow wire is then connected to the power source being measured. This allows you to monitor the voltage levels during development or as a permanent part of your project.
Faq 1: How Do I Install A Voltage Gauge?
To install a voltage gauge, you need to connect the red wire to the positive terminal and the black wire to the negative terminal for powering the meter. Additionally, you will need to connect the yellow wire to the power source you want to measure.
It is a simple process that can be done easily.
Conclusion
Installing a voltage gauge is an essential step in maintaining the health of your vehicle’s battery. By following this step-by-step guide, you can easily install a voltage gauge and monitor your battery’s voltage levels with confidence. Stay proactive and ensure the longevity of your battery with this simple DIY installation.